Tools
How to Configure a Codex API Key with CC Switch
Use CC Switch Desktop to add an OpenAI-compatible provider, switch Codex Desktop to it, and verify the setup with one real Codex response.
- Outcome
- A working Codex Desktop setup where the selected provider returns a real response.
- Updated
- 2026-06-17
- Read time
- 10 min
Tools needed
- macOS or Windows desktop environment
- CC Switch Desktop
- OpenAI Codex app
- A valid API key, base URL, and model name from your provider
Step-by-step guide
- Install CC Switch Desktop and the OpenAI Codex app.
- Add a Codex provider in CC Switch Desktop with your base URL, API key, and model name.
- Set that provider as the active Codex provider in CC Switch Desktop.
- Quit and reopen Codex Desktop so it reads the updated provider.
- Open a small test thread in Codex Desktop.
- Send a short message such as “hi” in Codex Desktop and confirm that it returns a real response.
What this setup solves
Codex Desktop is useful only after it can send requests through a working provider. CC Switch Desktop gives you a visual place to add an OpenAI-compatible provider, store the API key, and switch Codex to that provider without editing config files by hand.
The useful result is simple: after switching the provider in CC Switch Desktop, Codex Desktop should answer a short test message with a real model response.
Install the desktop apps
Install CC Switch Desktop first, then install the Codex app for macOS or Windows from OpenAI. This guide uses the desktop workflow: provider setup happens in CC Switch Desktop, and the final test happens inside Codex Desktop.
Open both apps once before configuring the provider. This makes permission prompts, login state, and first-run setup visible before you start entering API settings.
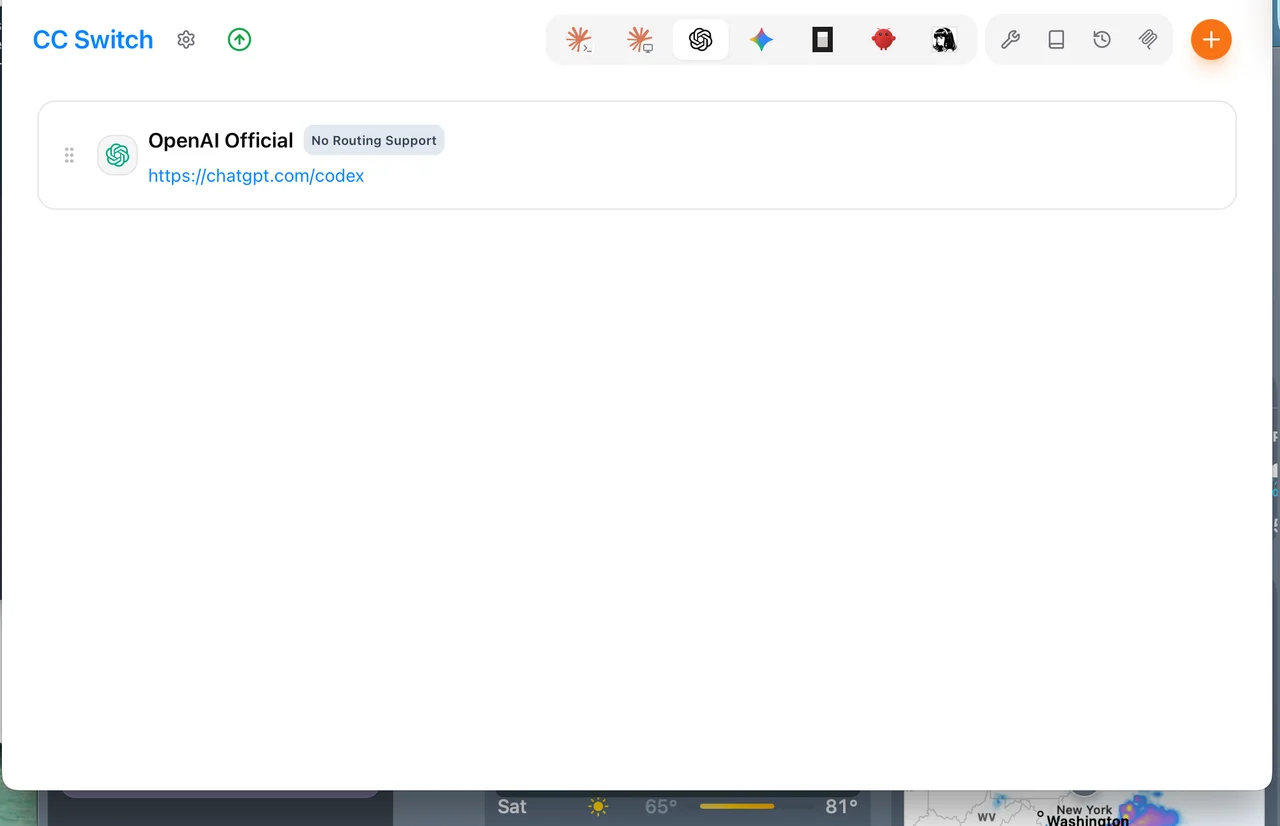
Add an OpenAI-compatible provider
Open CC Switch Desktop and choose the Codex target. Add a third-party or OpenAI-compatible provider, then enter a provider name, base URL, API key, and model name. Use values from your own provider dashboard or private credential vault.
After saving, select that provider as the active Codex provider in CC Switch Desktop. Check the visible provider name before moving to Codex Desktop.
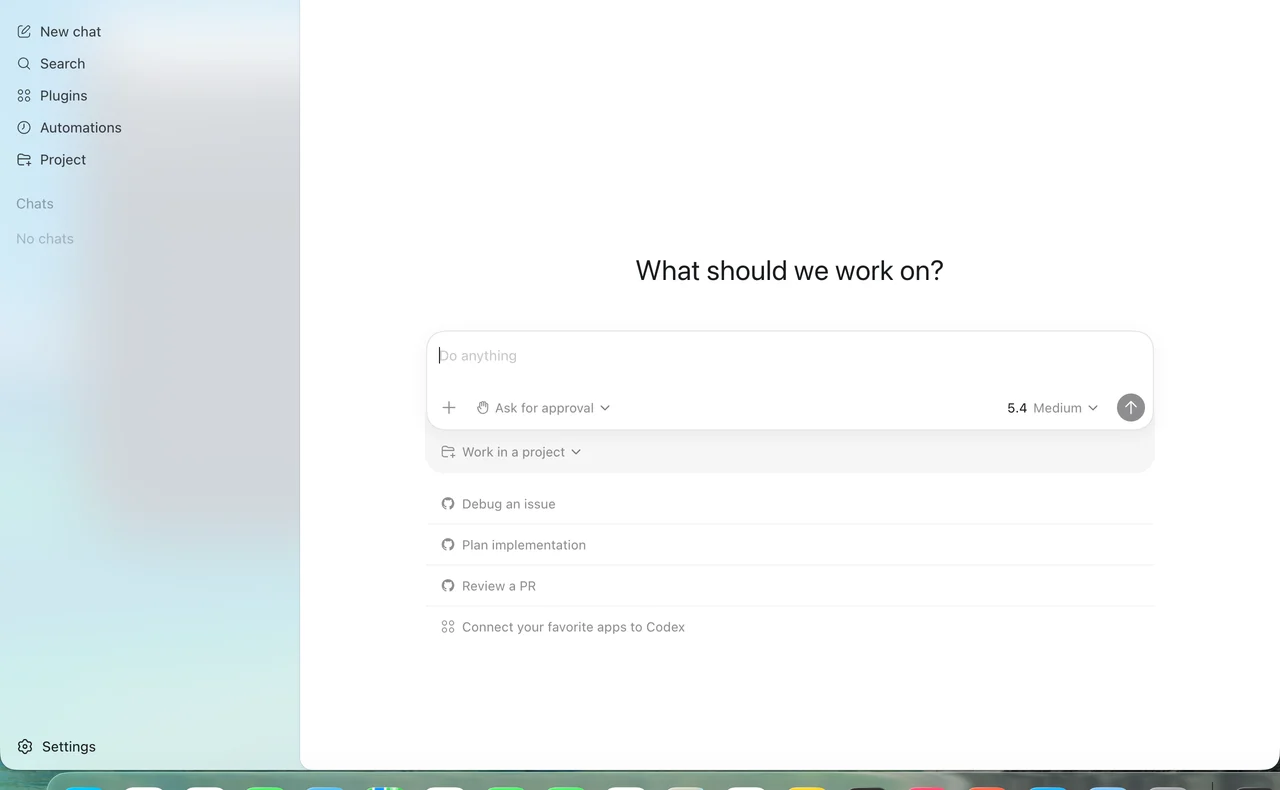
Open Codex Desktop from the same setup
Open Codex Desktop after switching the provider in CC Switch Desktop. If Codex was already open, quit and reopen it so it reads the updated provider configuration.
Create a small test thread or open a harmless local folder. The goal is only to confirm that Codex Desktop can reach the selected provider, not to modify a real project yet.
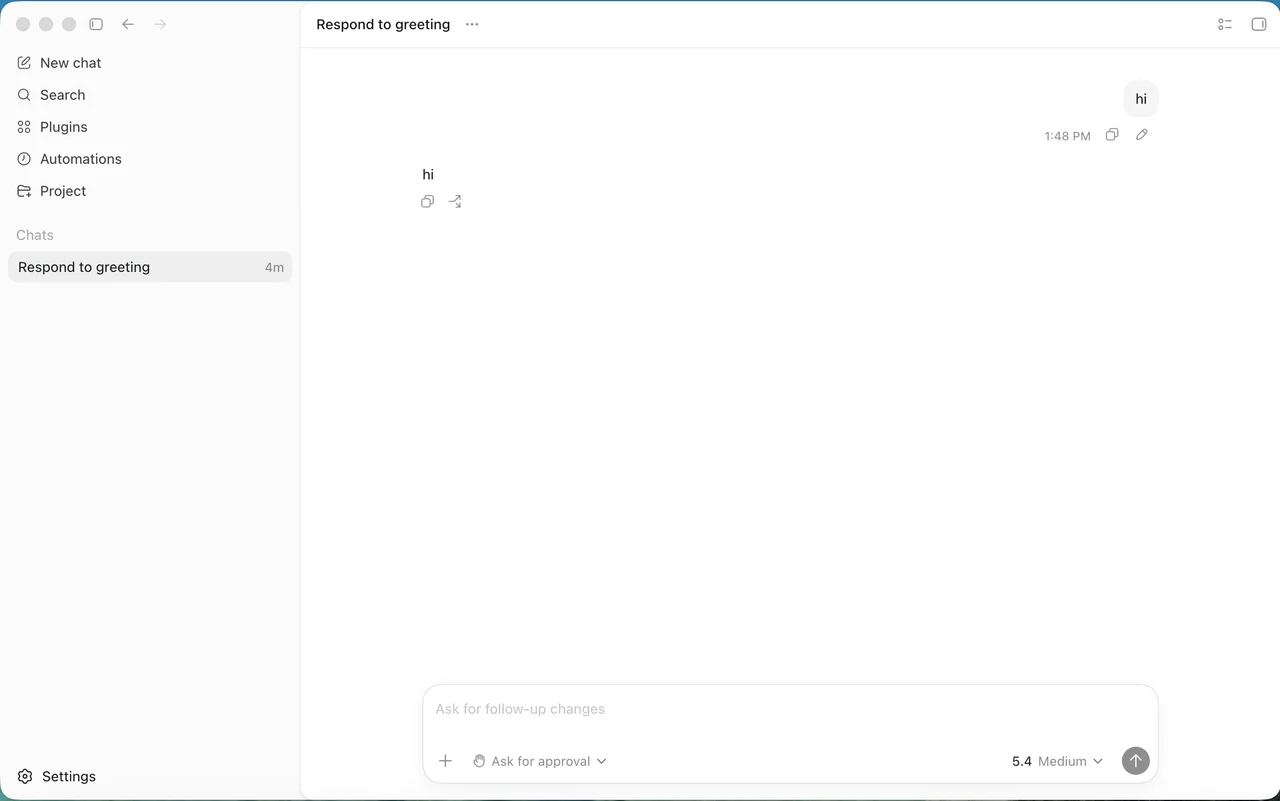
Verify Codex Desktop with one real response
In Codex Desktop, send a short test message such as “hi”. The final check is whether Codex Desktop sends the request through the selected provider and receives a real response.
If Codex Desktop returns hi, your key, endpoint, model, and provider selection are working together. If it fails, read the first visible error carefully before changing multiple settings at once.
Common failure points
If Codex reports authentication errors, recheck the API key first. If it reports model errors, confirm the exact model name supported by your provider. If it reports connection errors, check the base URL and whether it should end with /v1.
Avoid pasting a real key into screenshots, issue trackers, chat logs, or articles. Use placeholders in public content and keep the real values in a private credential manager.
Verification notes
Checked on June 17, 2026 with the latest CC Switch Desktop and Codex app available at test time. Codex Desktop returned hi through the selected provider. When you configure your own provider, do not put a real API key in screenshots, chat logs, or issues.